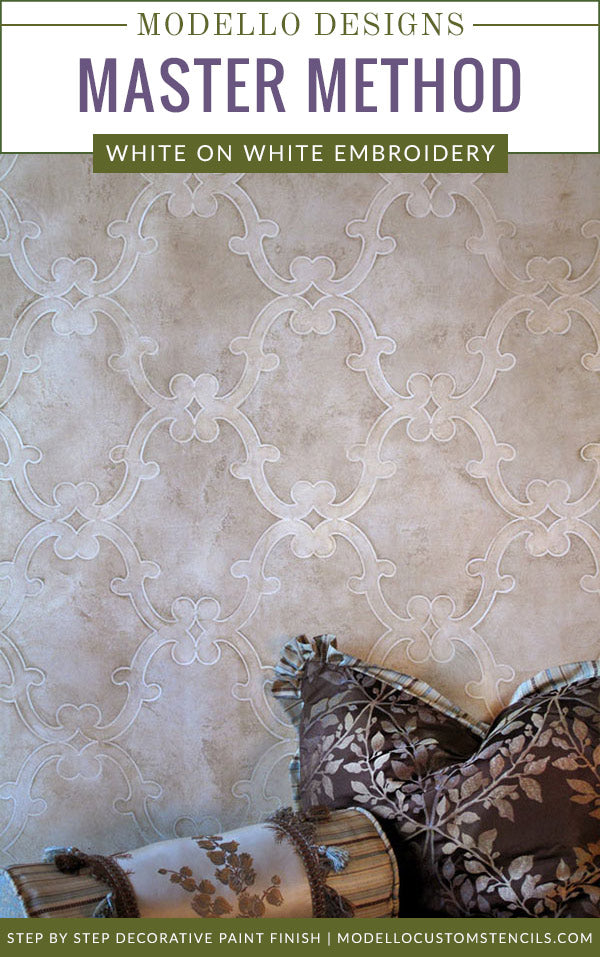
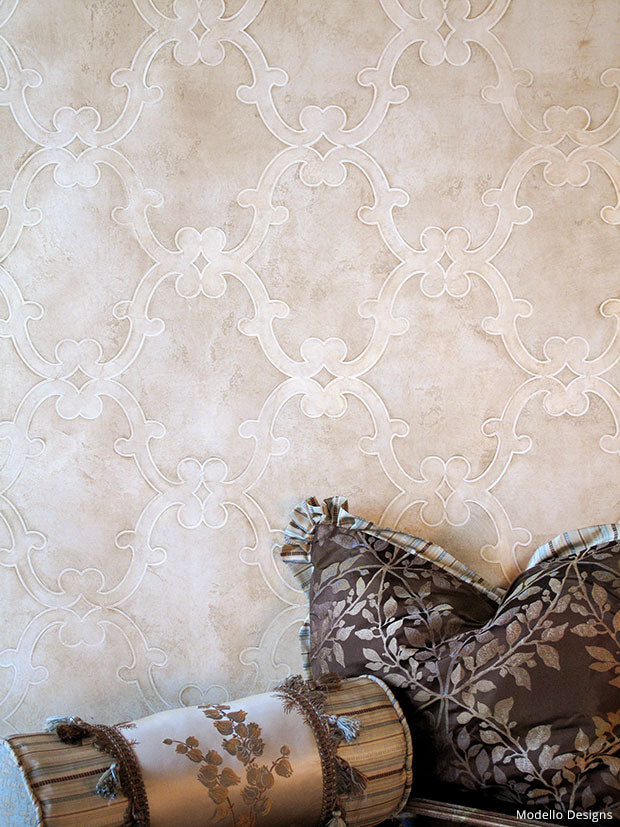
White on White Stenciled Embroidery Wall Finish
This pretty wall finish features a Modello® stencil pattern that has a small outline initially removed from the design. After applying plaster in the outlined area, you will remove the "middle" to apply a lighter plaster inside-resulting in an interesting embroidery effect.
- Lusterstone: Champagne Mist*
- Sandstone*
- Plastertex*
- Bellissimo Venetian Gem*:
- White on White, Tint Base
- Aquacreme/Mastercreme*
- Faux Crème Color*: Earth Brown
Tools:
- Venetian Trowel
- Japanese Trowel
- Japan Blades
- 1” Stencil Brush
- Soft Rubber Trowel
- Cheesecloth, Spray Bottle
- Mica Powder: Iridescent Gold
Basecoat: Texturecoat
Pattern: The pattern used here, EasAll155L, is what we call an “Embroidery Option” pattern. What that means is that the design is outlined with a pinstripe effect, which comes removed from the Modello® pattern. This allows you to apply a texture or color through JUST the outline initially. When you remove the Modello® stencil pattern from just inside the lines and continue to add another color or product in the “middle” you get the “Embroidery Effect”. We have a small number of patterns already set up for this effect and many other patterns in our collection can be customized this way as well, as long as they are done at a relatively large scale.
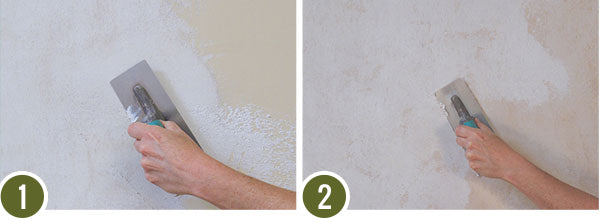
Step 1: Use a hard steel Venetian Trowel to trowel on a thin, tight coat of Sandstone. The harder you compress this material, the more the embedded color will “pop”, darkening the finish. Let dry.
Step 2: Skip trowel a layer of Plastertex to create subtle high/low areas and subtle, irregular pitting. About 15% of the Sandstone background should be left randomly exposed. Do not apply as hard a pressure as you did with the Sandstone. Let dry.
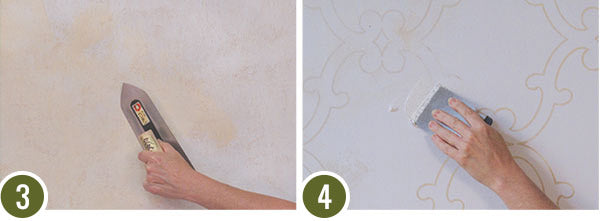
Step 3: Tight trowel Champagne Mist Lusterstone overall using the same trowel or a more flexible Japanese Trowel. Let dry.
Step 4: Apply your Modello® stencil to the surface. Use a Japan Blade to trowel Plastertex through the stencil pattern. The thickness of the Plastertex will help to build up the relief of the pattern.
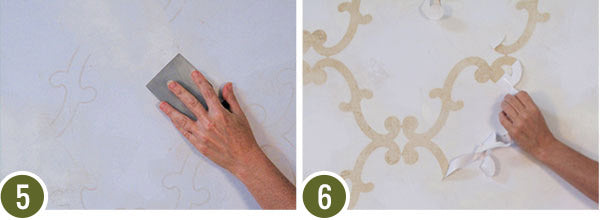
Step 5: Immediately follow with White on White Bellissimo. The White on White Bellisimo over the Plastertex is used to create the white color of the outlines in the pattern. Let dry.
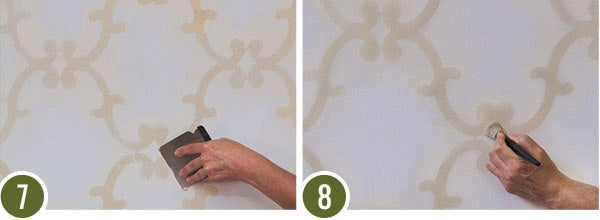
Step 6: Remove JUST the center portions of the trellis pattern that runs between the outlines. Leave the remaining areas of the Modello® stencil intact and in place to protect the background.
Step 7: Mix Bellissimo Tint Base with White on White at a 1:1 ratio. Use a Japan Blade to trowel this thinly into the open areas. Pull it very tightly so as to reveal the background color and texture underneath. Let dry.
Step 8: Mix Iridescent Gold Mica Powder 1:1 with Aquacreme/Mastercreme. Use a stencil brush to apply a thin, even layer of this water-based “gilt crème” to the exposed areas.. Let dry and remove the remaining Modello® stencil pattern.
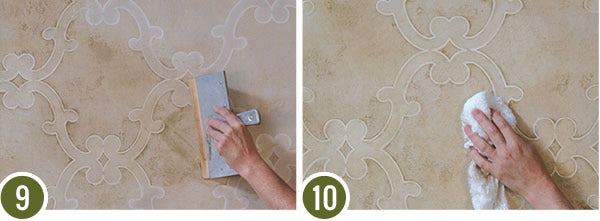
Step 9: Make an Earth Brown glaze using the following ratio: 1 tsp. Earth Brown to 1C. Aquacreme/Mastercreme. Use a soft rubber trowel to apply this to the surface, pulling tightly around the design areas. Alternatively, you could roll this on and “squeegee” it off with the Rubber Trowel.
Step 10: Soften, if necessary, with wadded cheesecloth as you go.

